
|
|
|
#1 | |
|
Suburban Gun Runner
|
Open chamber WE M4/Scar/PDW/G39/l85
Well as there are several hundred pages of WETTI/AWSS fixes this will be the start of the open chamber thread.
Post your WE open chamber problems/fixes here.
__________________
Quote:
Last edited by Eeyore; September 11th, 2011 at 22:27.. |
|
|
|

|
|
|
#2 | |
|
Suburban Gun Runner
|
Different Open Chamber kits.
Be advised there are two different types of WE open chamber kits available. The only difference is that the exterior of one type has tabs that fit in the upper receiver, while the other is tabless.
Tabs:  Tabless  It seems that the 416 requires the tabs to work. The M4 CQBR comes with the tabbed version of the hop up.
__________________
Quote:
Last edited by Eeyore; September 11th, 2011 at 22:27.. |
|
|
|

|
|
|
#3 |
|
pɹıq spɹɐʍʞɔɐq
|
Yes beware, most of the long kit don't have these tabs and it makes the hop up chamber go too deep which makes it impossible for the mags to get in properly.
|
|
|

|
|
|
#4 |
|
For those who are wondering about the RA-tech NPAS installation, it's a straight drop in for the M4/416 open bolt nozzles (get the open bolt NPAS units...they're the ones that cost only $15). No mods required. I can adjust my fps from around 300 to 480 on 0.2. It seems the "mod" as described by RA-tech modifies this range perhaps increasing the maximum fps to a bit beyond 500.
Also when adjusting the NPAS unit, you'll need something to hold the unit in place inside the nozzle while using the NPAS adjustment tool. Last edited by TPM001; September 13th, 2011 at 00:20.. |
|
|
|

|
|
|
#5 |
|
Another tip: It is imperative that the nozzle o-ring is well lubed. Despite what you hear from others about using the lightest weight silicone oil on it, that's crap. Use a thicker oil such as the stuff that comes with KWA guns. I think those are 60 or 80 wt. Add a couple of drops to the o-ring every 10 to 15 mags. Only takes less than a minute to do, but it will ensure your gun operates smoothly.
I found that my BB jams/chopping disappeared after doing this. |
|
|
|

|
|
|
#6 | |
|
Quote:
I wish I could find a source for spare NPAS adjustment tools. I hate only having the one.
__________________
* * * * * * * * * Rob Bye  |
||
|
|

|
|
|
#7 |
|
a.k.a. cloaked
|
I didn't mod mines either. With the NPAS closed, I get about 250-299 FPS and fully open to about 400 FPS max on 0.20g.
|
|
|

|
|
|
#8 |
|
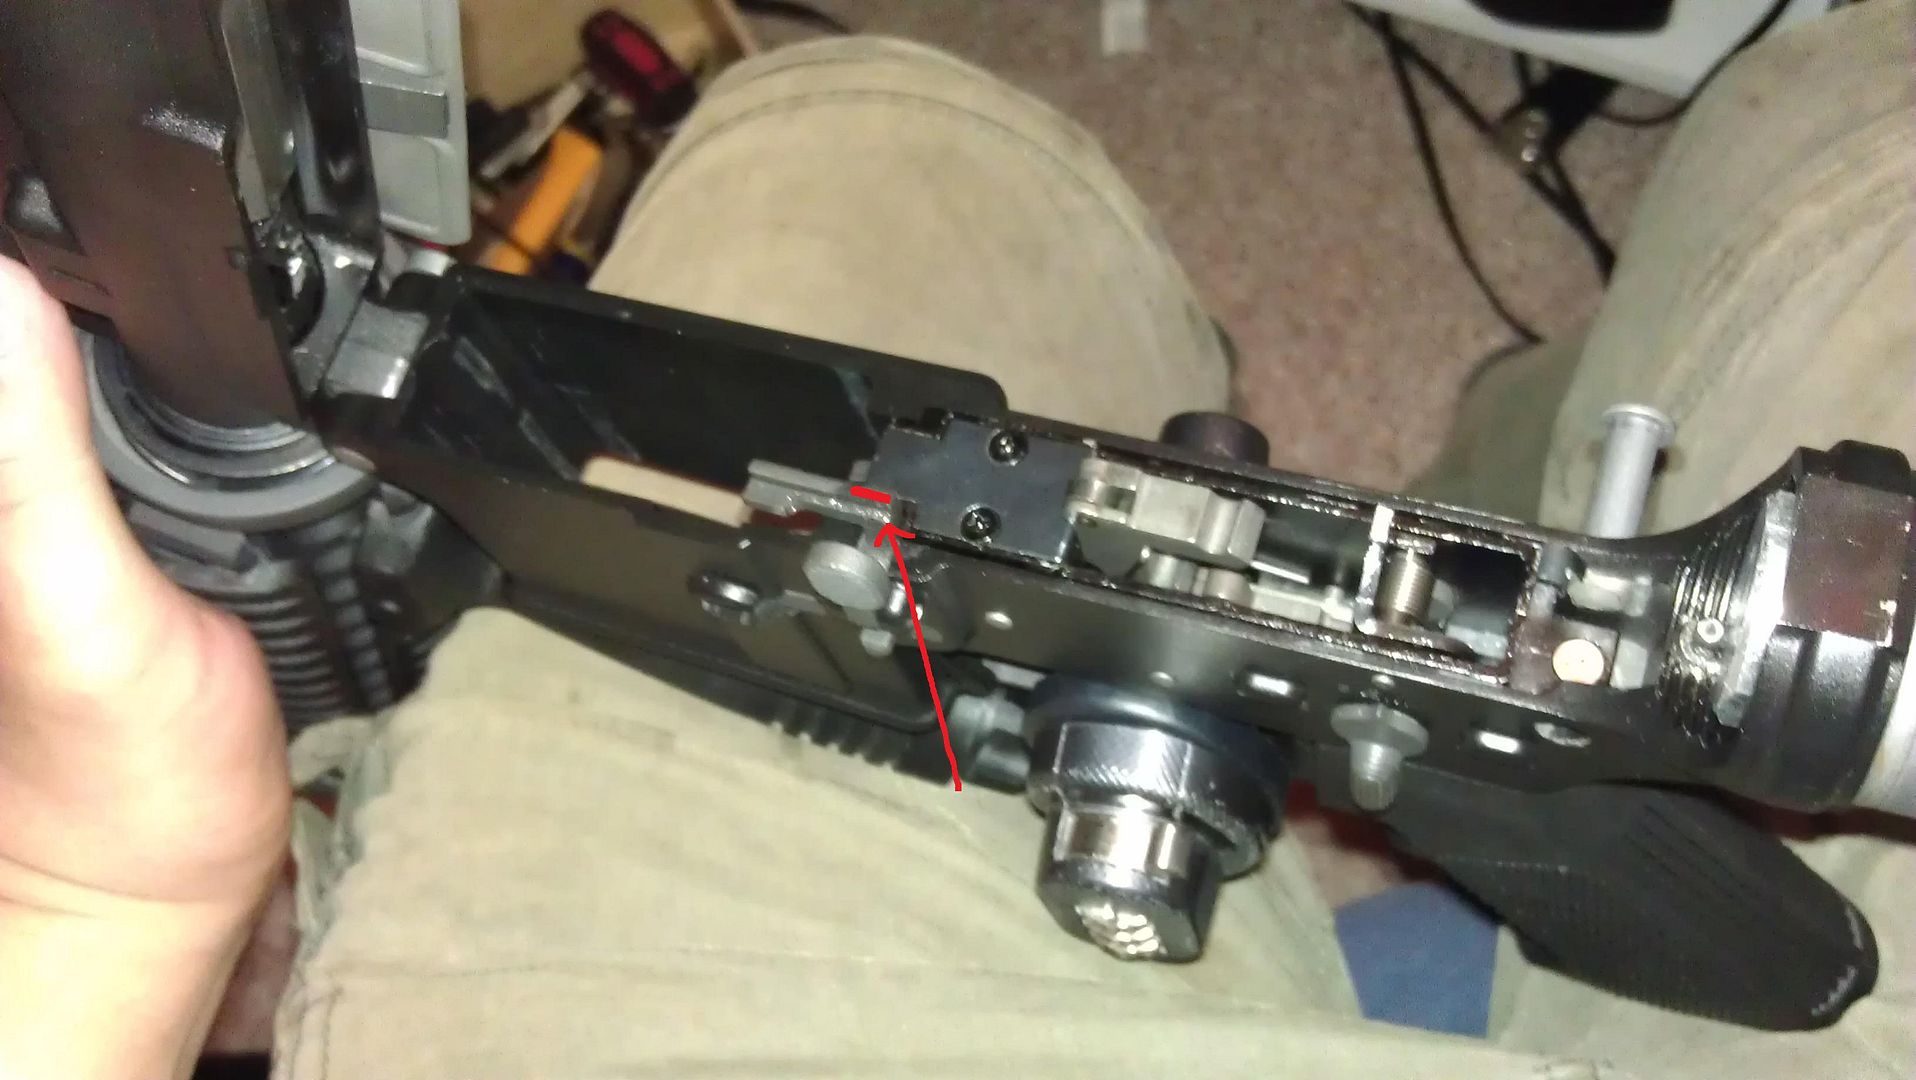
I also find the RA-tech steel trigger assembly (for M4/M16/416) to be a worthwhile upgrade. This assembly is actually made for closed bolt. But with a simple mod, can be made to operate perfectly with open bolt.
You just need to replace this part (see center of the pic) with the open bolt version and that's it. I found that my fire selector was really improved after the install, with crisp clicks and a solid feel. Last edited by TPM001; September 13th, 2011 at 01:00.. |
|
|
|

|
|
|
#9 |
|
For those people really want to get RA-Tech Trigger set...
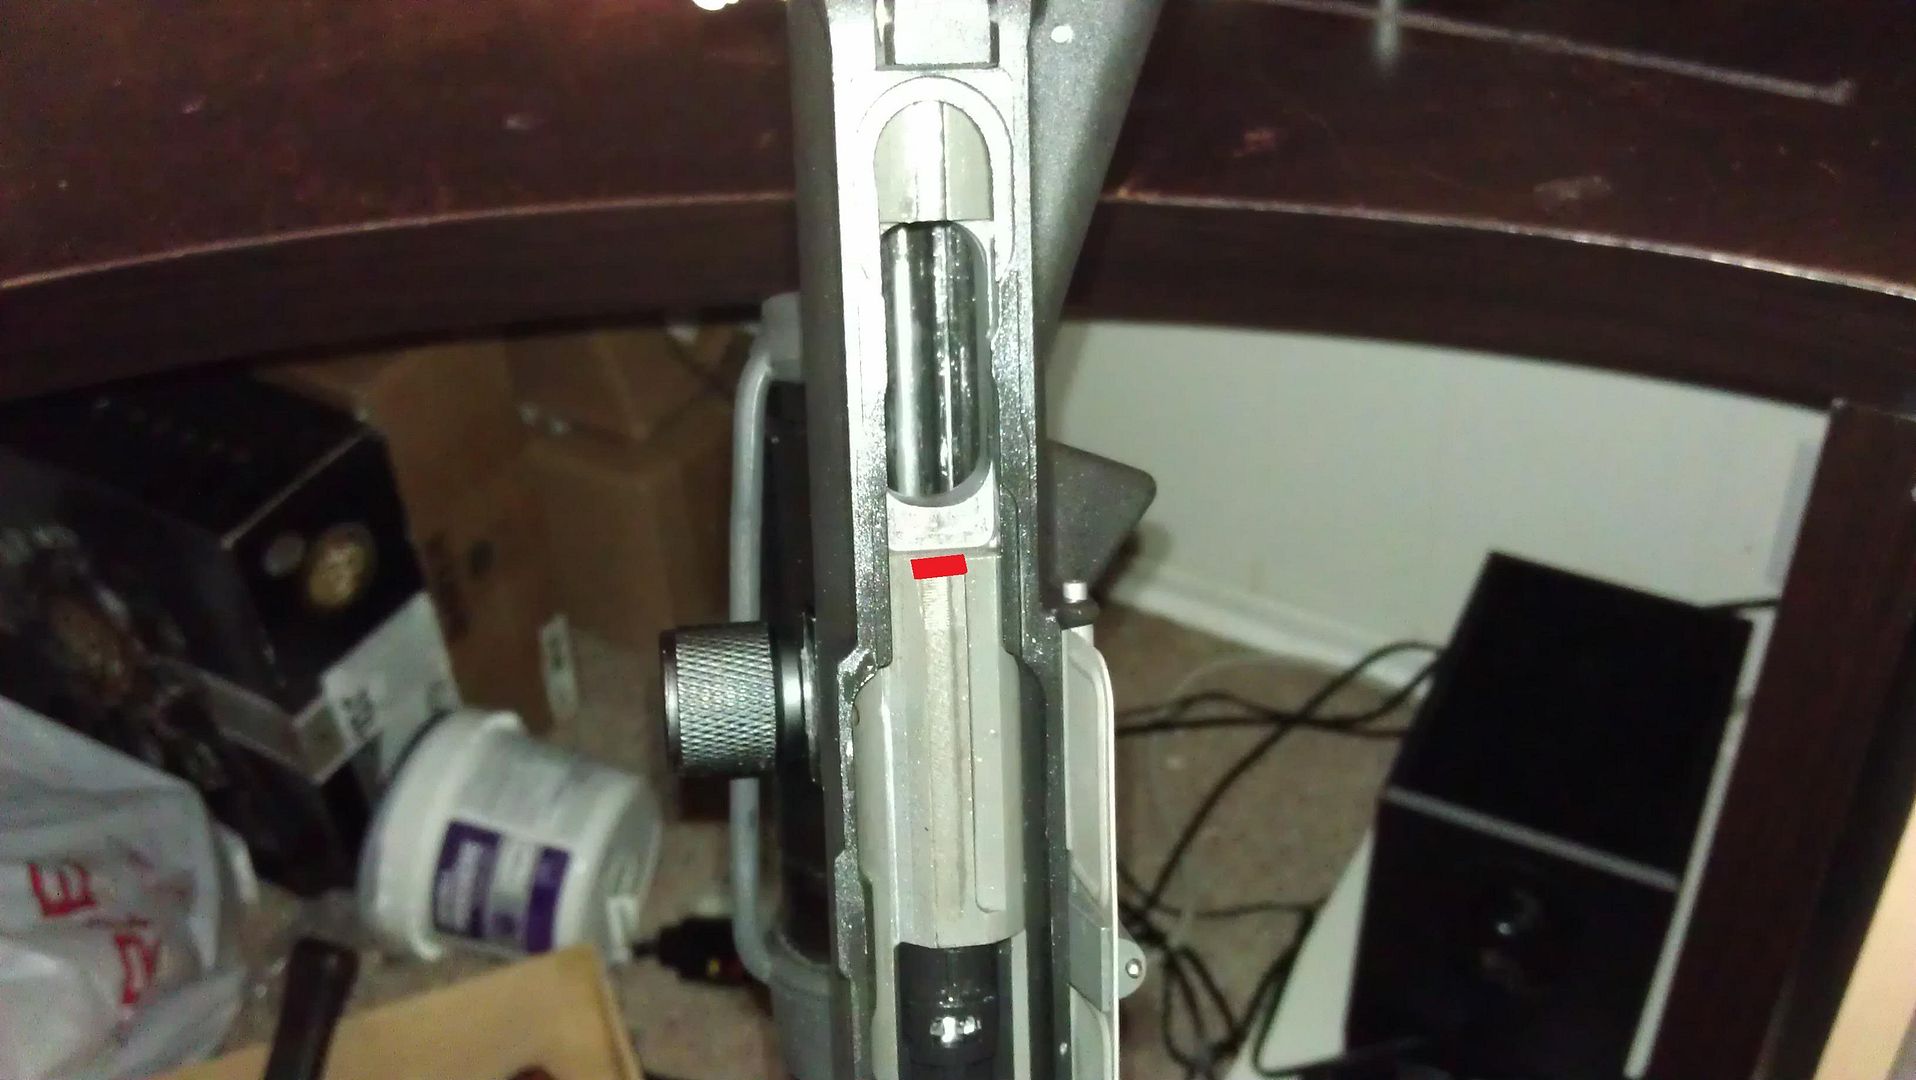
DON'T, unless you are getting the steel carrier as well. I cycle my M4 about 150 times totday, the crater from the steel hammer is already approximately 1-1.25mm deep. There are reports of steel hammer hitting pot metal carrier to the point of making a hole through to the blow back unit. If you are installing the RA-Tech M4 Steel Carrier, at bare minimum you need to mod the bolt catch and bolt carrier to make it work. 1) The bolt catch point where it engage the carrier needs to be shave down approximately 0.5mm from the top.  2) The part of bolt carrier where the cocking of the hammer takes place needs to be further rounded to have a smoother cycling (otherwise it's near impossible to cycle the gun when the hammer is dropped)  After 10k rounds of RA-Tech Trigger Set (Hammer, Disconnector, Trigger, Firing Pin Assembly, and Valve Lock) in WE G39E using stock bolt carrier -The Firing pin is severely sanded to the point it doesn't completely open the magazine valve when it strikes. This result in "stuttering" full auto where the cycling has a irregular time between shots. The assembly end overall is fine but it has dent where the hammer strikes it. -The Hammer is dented (less than 1/4mm) by the firing pin assembly, currently beside looks it doesn't do anything. -The Valve lock has the sharp end sanded off from the firing pin, but it does not affect its functionality. -Beside from the part where your finger contacts the trigger, it looks brand new with no damage, -disconnector loss a bit of parkerizing where it contacts the hammer, but otherwise new Final thoughts, The Carrier is showing lots of wear from using steel firing mechanism. Aside from the Firing pin using steel that is too soft I consider it a good investment if you are getting the steel carrier as well. |
|
|
|

|
|
|
#10 |
|
Thanks for that info. I have a couple of steel bolt carriers on the way.
|
|
|
|

|
|
|
#11 |
|
|

|
|
|
#12 | |
|
pɹıq spɹɐʍʞɔɐq
|
Quote:
|
|
|
|

|
|
|
#13 |
|
a.k.a. LastSpartan
|
Here's a good guide on how to install the OB NPAS in an M4.
http://forum.gbb-technics.fr/viewtopic.php?f=15&t=2662 It's in french, but the pictures speaks for themselves.
__________________
 NEW BACON FOR SALE! "WHEN I DIE BURY ME UPSIDE DOWN SO THE WORLD CAN KISS MY ASS" -Platoon |
|
|

|
|
|
#14 |
|
I'm trying to install the NPAS.. I got to the nozzle part and taken out the little rod on the nozzle but for the love of god, I can't split the nozzle in two.. Do I need to pull it with brute force?
|
|
|
|

|
|
|
#15 |
|
No, dont apply brute force. After you remove the very small aluminum pin that holds the two halves of the nozzle, look for the crease (cross section of the nozzle) that splits the nozzle in two. Rotate both halves until they come apart.
|
|
|
|

|
  |
|
||||||
| Bookmarks |
| Thread Tools | |
|
|
 |