Cylinder take down and upgrade.
1. You will need a drill press if you want to use the stock cylinder. If you do not have one I recommend buying the cylinder head pro and Teflon cylinder. There is a small brass pin attached through the cylinder into the cylinder head. Find the correct sized drill bit and slowly drill this out. When you notice a change in resistance stop. This means the pin is completely gone. Do this at your own risk I know my way around tools well enough to do this.
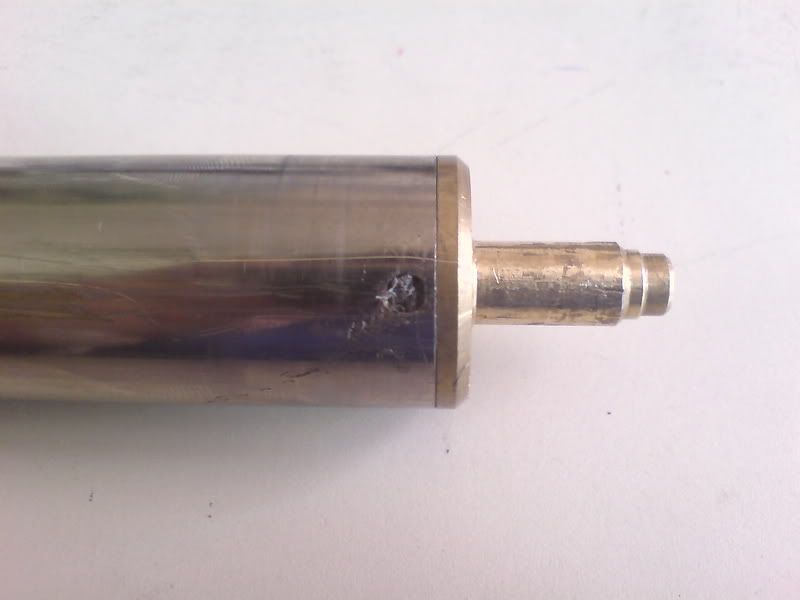
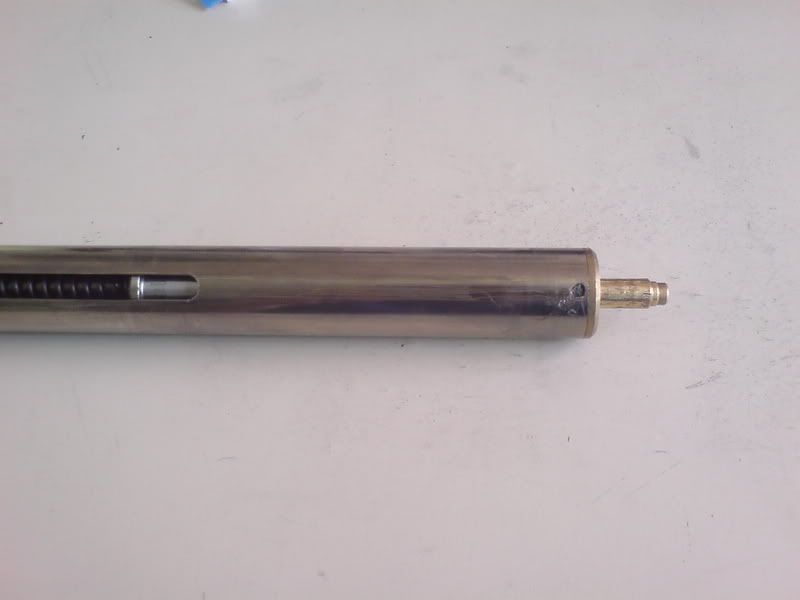
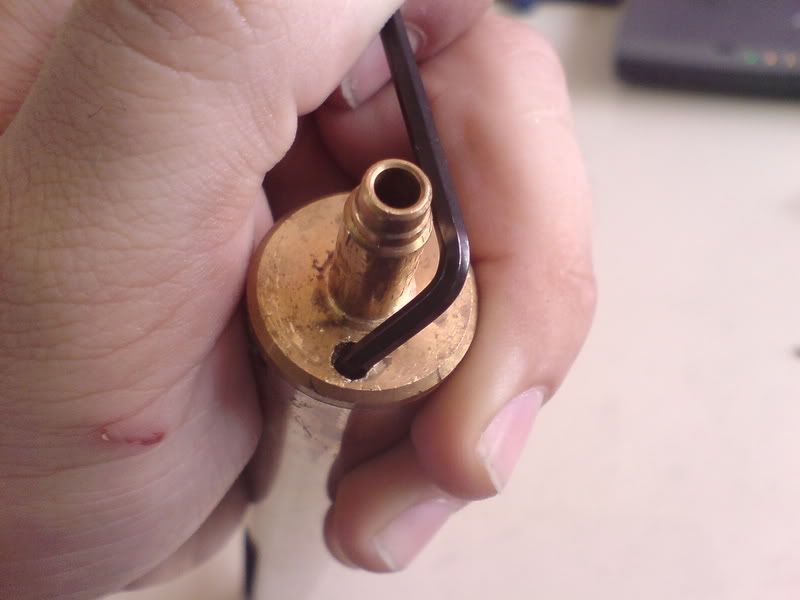
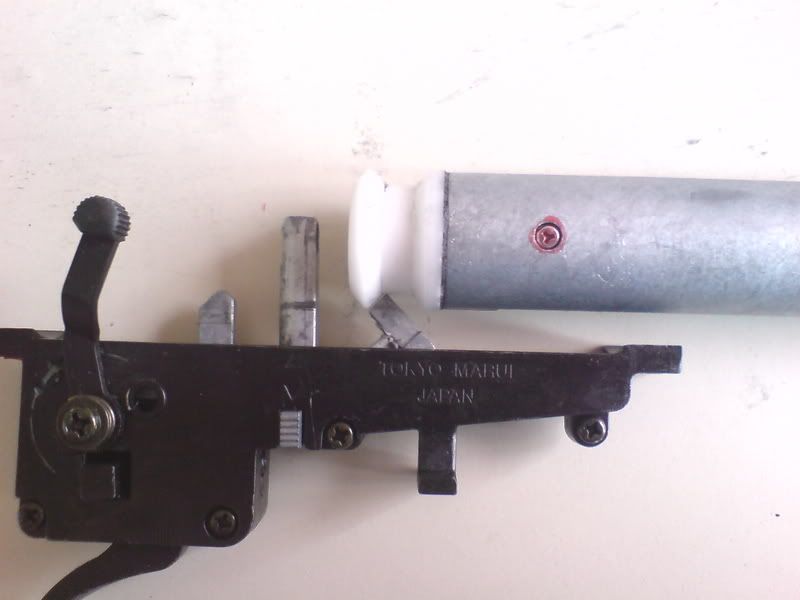
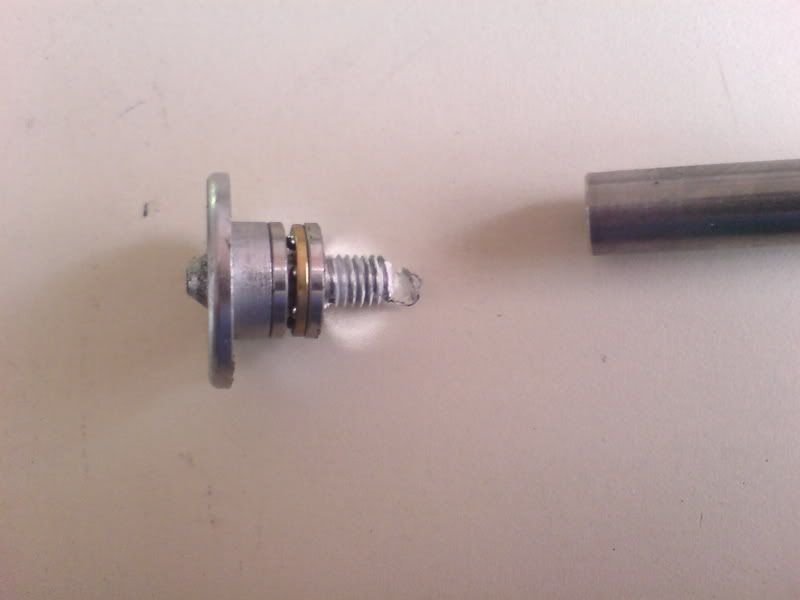
2. Now that the pin is removed you need to remove the cylinder head. If you wrap it in tape and carefully use a set of pliers this will remove it. It can also scratch it but the scratches as long as not sharp have no effect. Or you can do what the picture shows and use an allen key. It turns off like the normal righty tighty lefty loosy.
3.Now that this is done a whole pile of stuff will spew out. NOTE: I have the real shock version. This means that my piston has metal weights attached to make the gun shake a bit. If these weights are removed it will boost your stock guns fps.
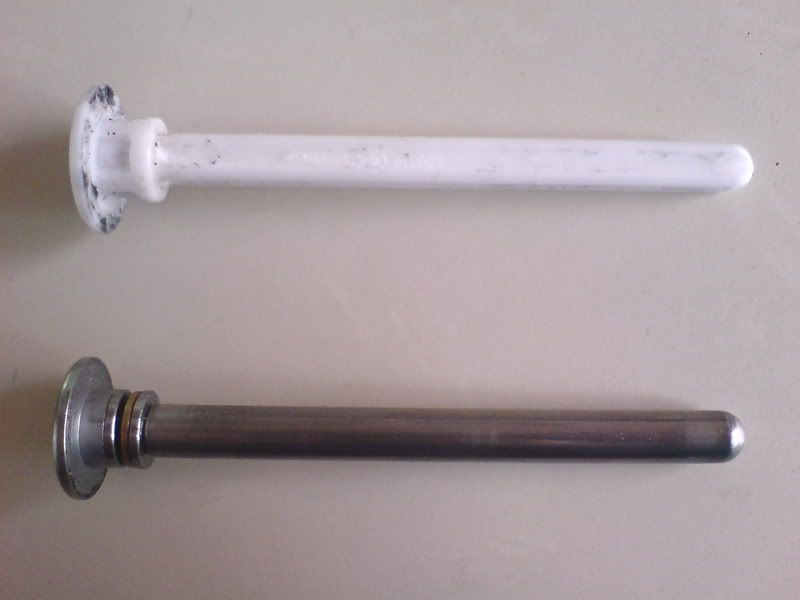
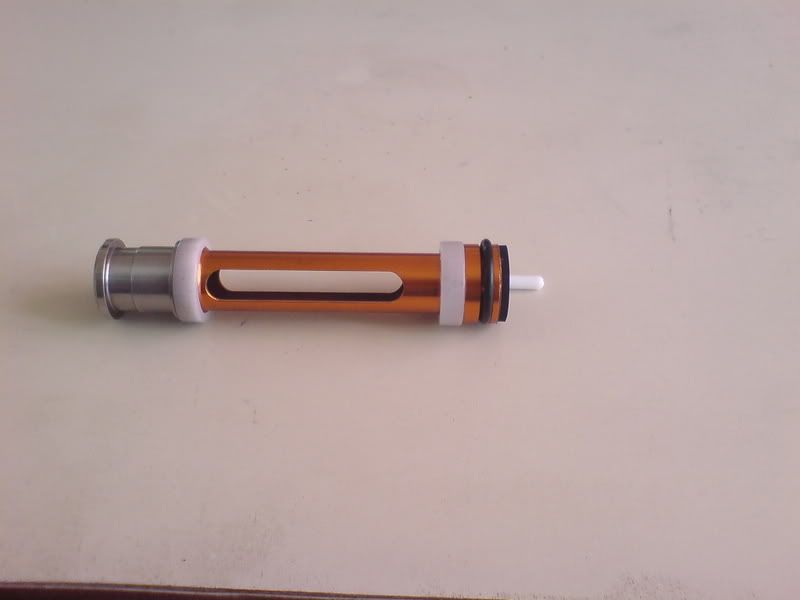
(the orange one is the one that comes with the zero trigger)
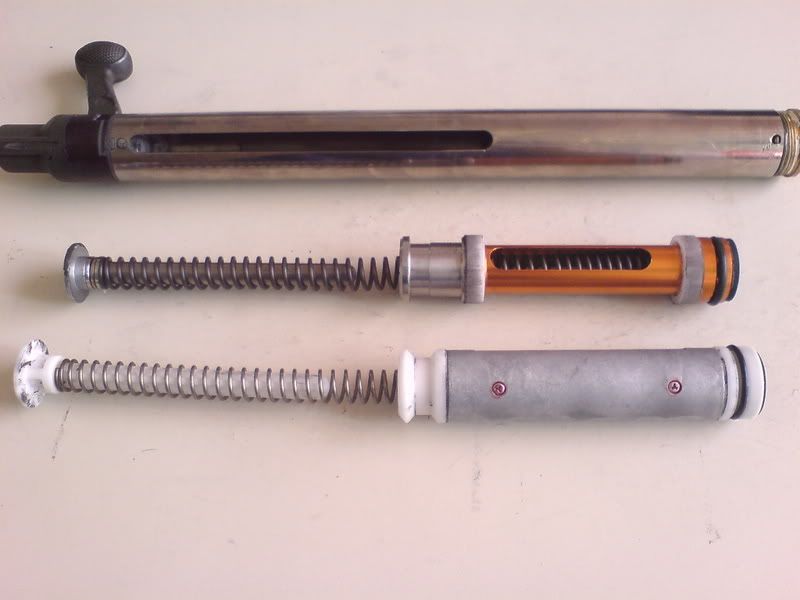
4. This just illustrates the normal piston and sear set up before upgrades.
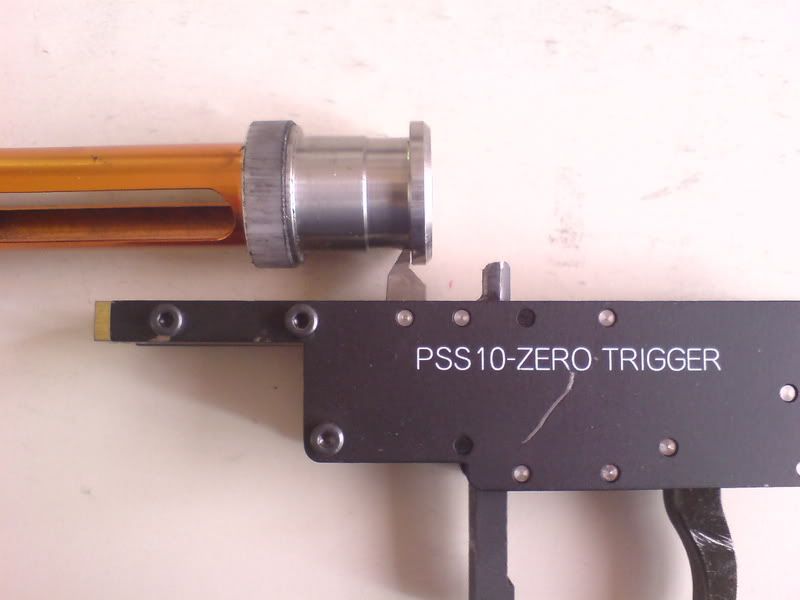
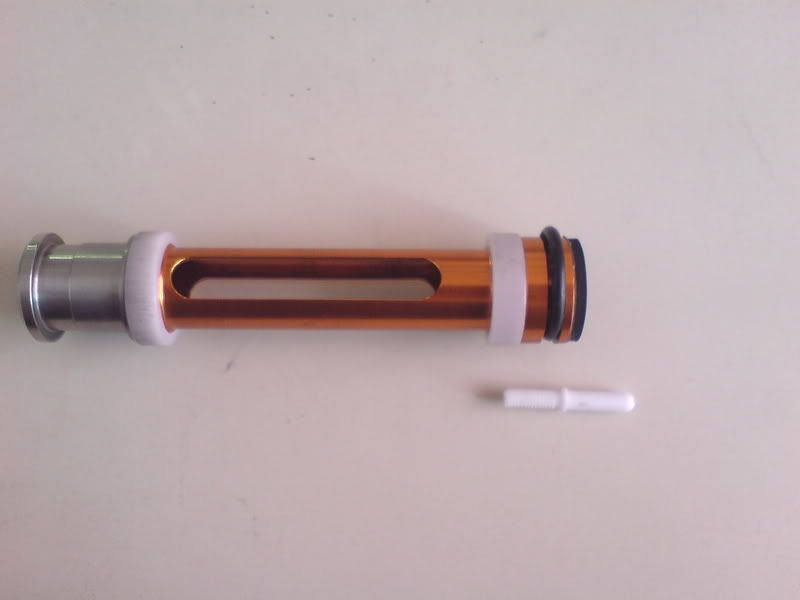
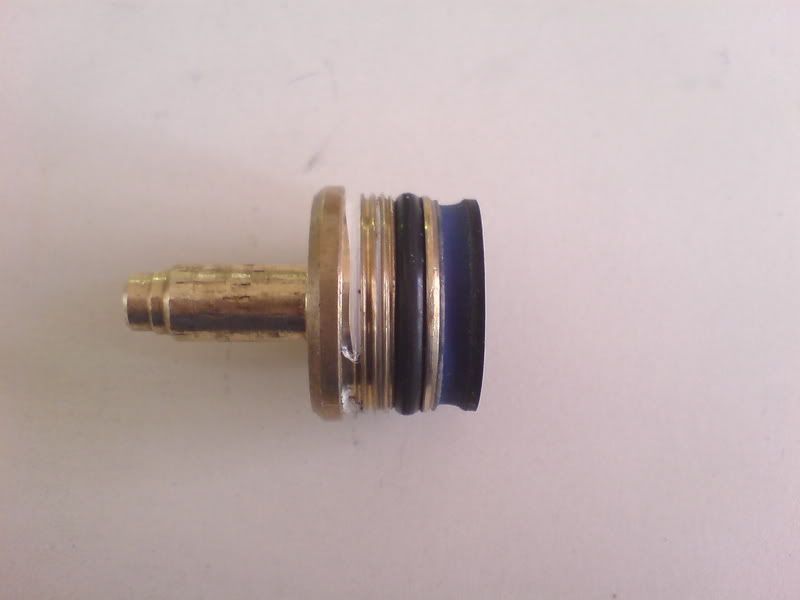
5. This shows the zero trigger and all of its glory. It has a much better sear setup with steel sears that will last long for almost all upgrades. In other words buy it and forget about buying sear upgrades. You will be much happier and far less stressed.
6.The difference between the stock plastic spring guide and the upgraded metal bearing spring guide.
7.Now this is one of the annoying parts to the spring guide. It does not come thread locked and unscrews. So when you go to cock the rifle the cylinder hits the head of the spring guide not allowing the sear to engage. Loctite or Teflon tape the shit out of this piece.
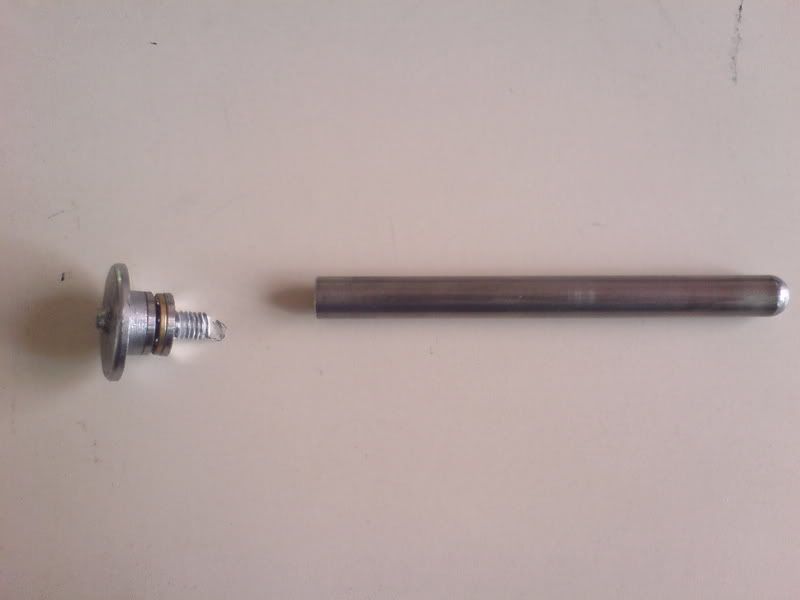
8.On to the new upgraded piston. This piece is very nice. However it comes with its problems also. The piston has a smallish oring on it. When it shoots forward air is let through the piston head pushing the oring out and making a seal. However at higher velocity's air rushes past the oring and gives the user a fps drop. To solve this remove the oring and put the stock on on it from the tm piston. It is slightly larger in diameter. The piston also comes with a white shaft called the silent shaft. Don't use this piece it will cause your fps to vary greatly. It plugs the cylinder head when the piston is forward creating a pocket of air to slow it down making the gun quieter. Instead install the metal grub screw the gun comes with or cut the shaft down. Teflon tape the grub screw so it does not hit the spring guide.
9.Shows the grub screw in place of the shaft.
10.Dampers aren't needed but removes some of the wear and tear on the piston and cylinder head. It gives a slight variation in fps however but I consider it a evil I can put up with. They stick onto the cylinder head not much more to be said about that.

11.Cram all of the new internals back in. If you have a upgraded spring you will notice the spring is longer then the cylinder. Don't panic this is normal. Its so that when the spring settles it is still strong enough. Just give everything a push and start turning. It helps to have another person with you on this one. Teflon tape the threads of the cylinder head.
12.These are the same spring one has settled the other is new.
I no longer have a picture of this but when you install a new spring it will seem oddly long. Don't worry in time it will shrink down.
Now that that is done now for the new trigger.